Quick Start Guide
Access Fileglancer
Section titled “Access Fileglancer”- Connect to Janelia network: Ensure you’re on the Janelia internal network or using the VPN
- Open your browser: Navigate to fileglancer.int.janelia.org
- Authenticate: Log in via Okta with your Janelia credentials
Navigate to your file share
Section titled “Navigate to your file share”Open your home folder
Section titled “Open your home folder”Home button: In the toolbar, click the home icon to view the contents of your home folder.


Find your group’s data
Section titled “Find your group’s data”-
Use the search
In the left sidebar, search for a group or team project -
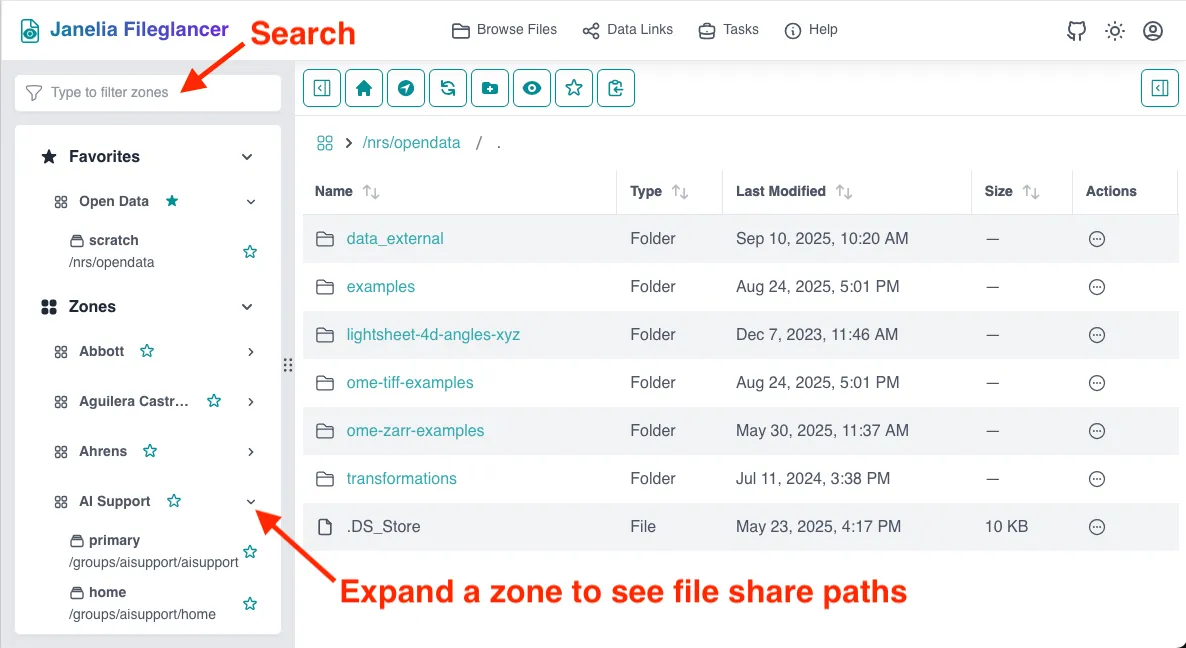
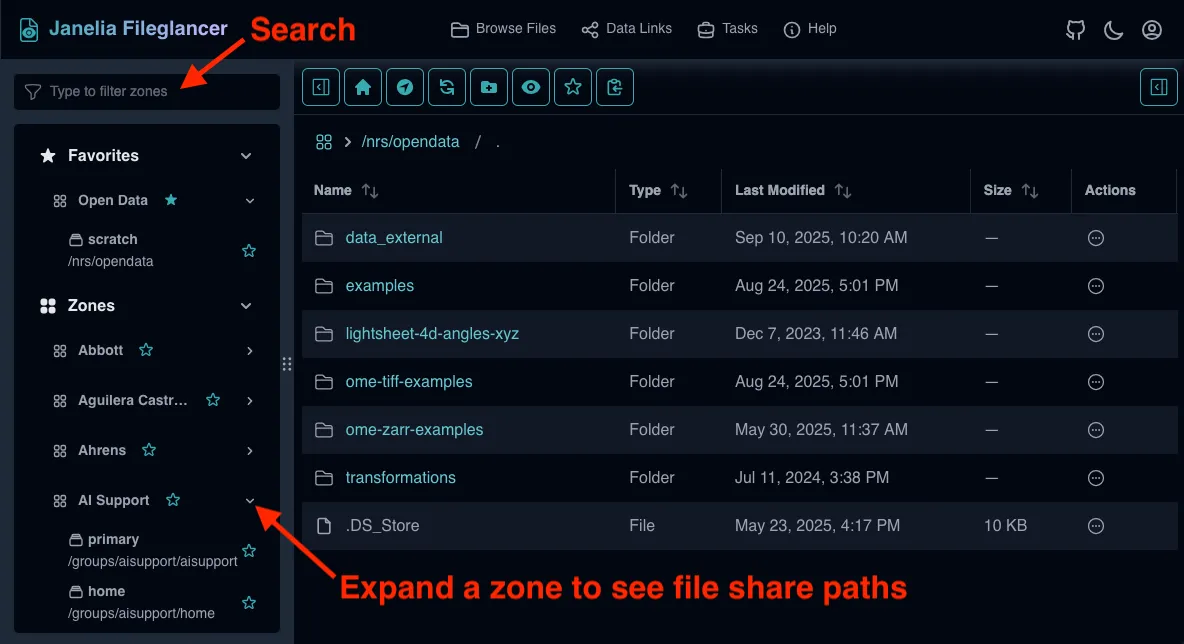
Expand zones
Click on a Zone to expand it and see the file share paths it contains -
Browse file share path
Click on a file share path to view its contents in the file browser
Save a favorite
Section titled “Save a favorite”-
Navigate to a frequently-used folder
Use the file browser to reach an important directory -
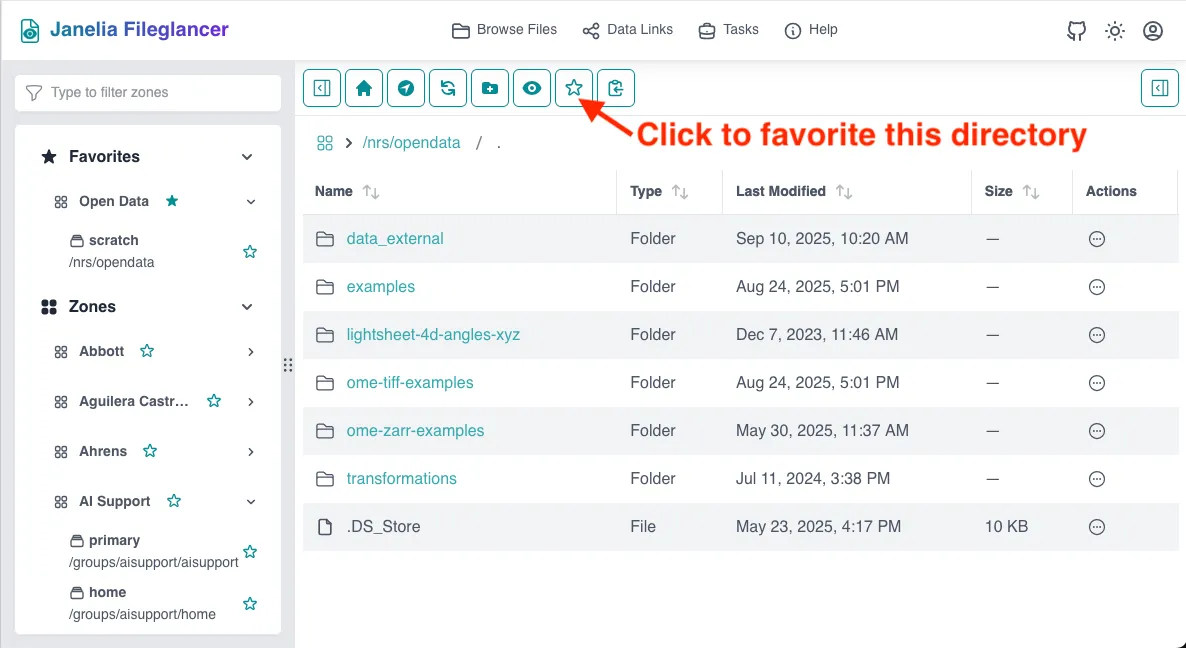
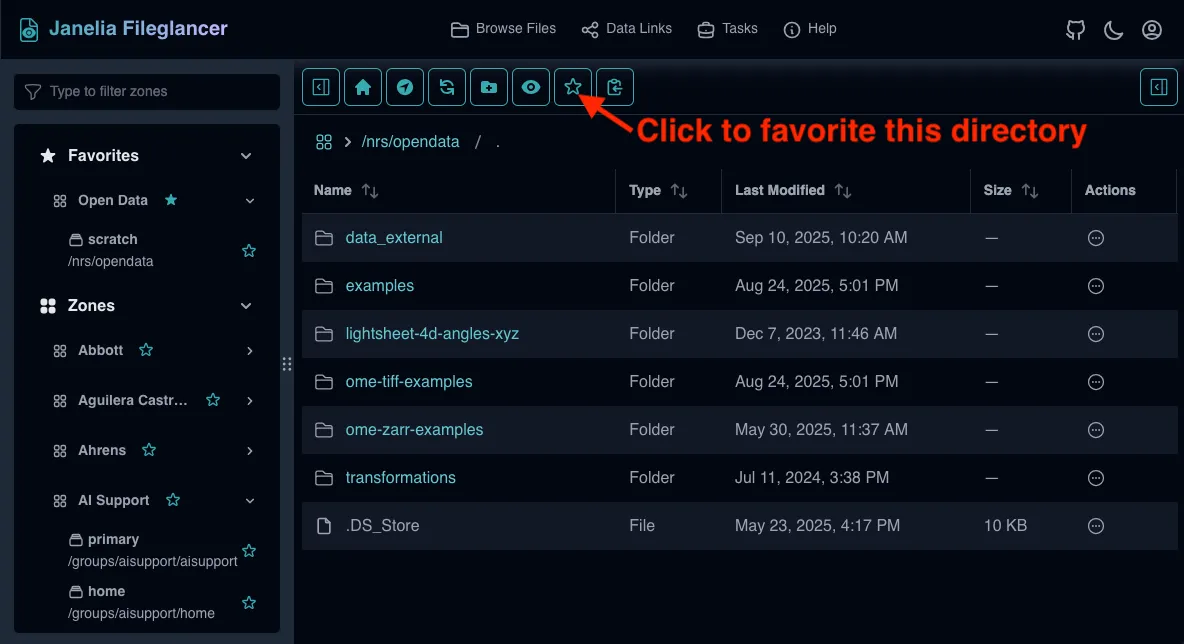
Click the favorites icon
Use the star icon in the toolbar to save the current location -
Access later
Your saved favorites will appear in the left sidebar for quick access
View OME-Zarr data
Section titled “View OME-Zarr data”We’ll use an example data set to get familiar with the interface.
-
Copy path
Copy this path into your clipboard:
/nrs/opendata/ome-zarr-examples/fused-timeseries.zarr -
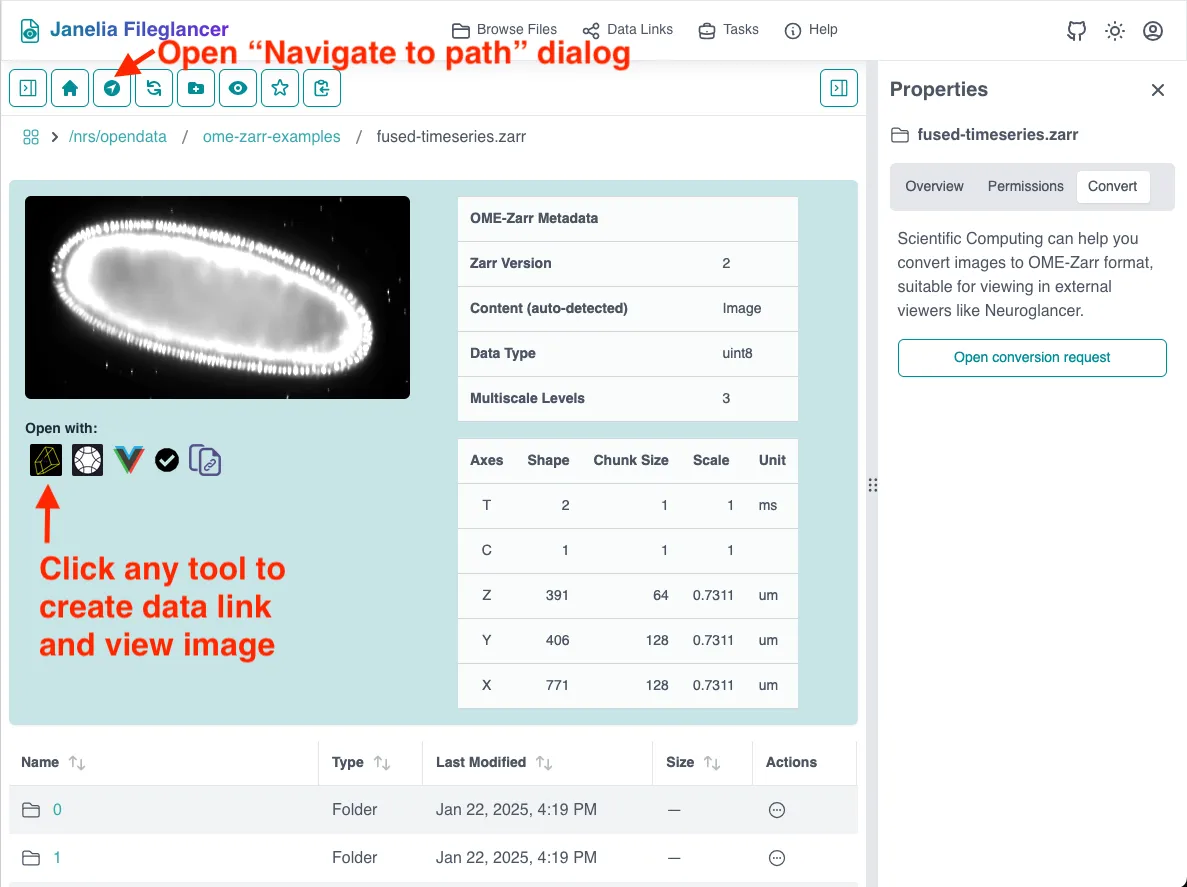
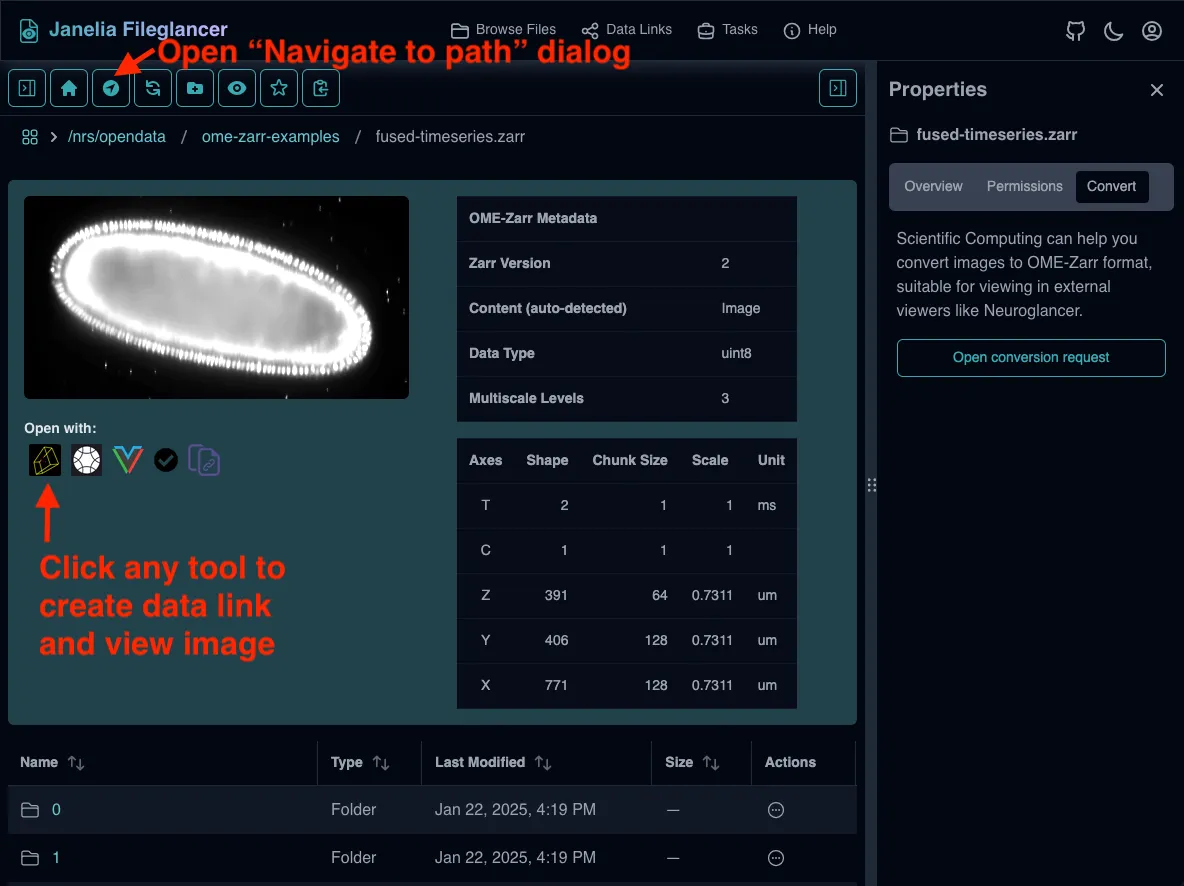
Navigate
Click the “Navigate to path” button in the toolbar, paste the path and click “Go”. -
See metadata
Since this is an OME-Zarr image, you can view all of its metadata along with a thumbnail image. -
View image
Click on the “View in Neuroglancer” button. -
Create data link
Viewing an image requires a data link, so click “Create Data Link” on the dialog that appears. -
Visualize
Your image will open in the Neuroglancer viewer for viewing.
Request a file conversion
Section titled “Request a file conversion”If your data is not already in OME-Zarr format, we can help!
-
Navigate to Zarr data
Browse to a Zarr or OME-Zarr directory -
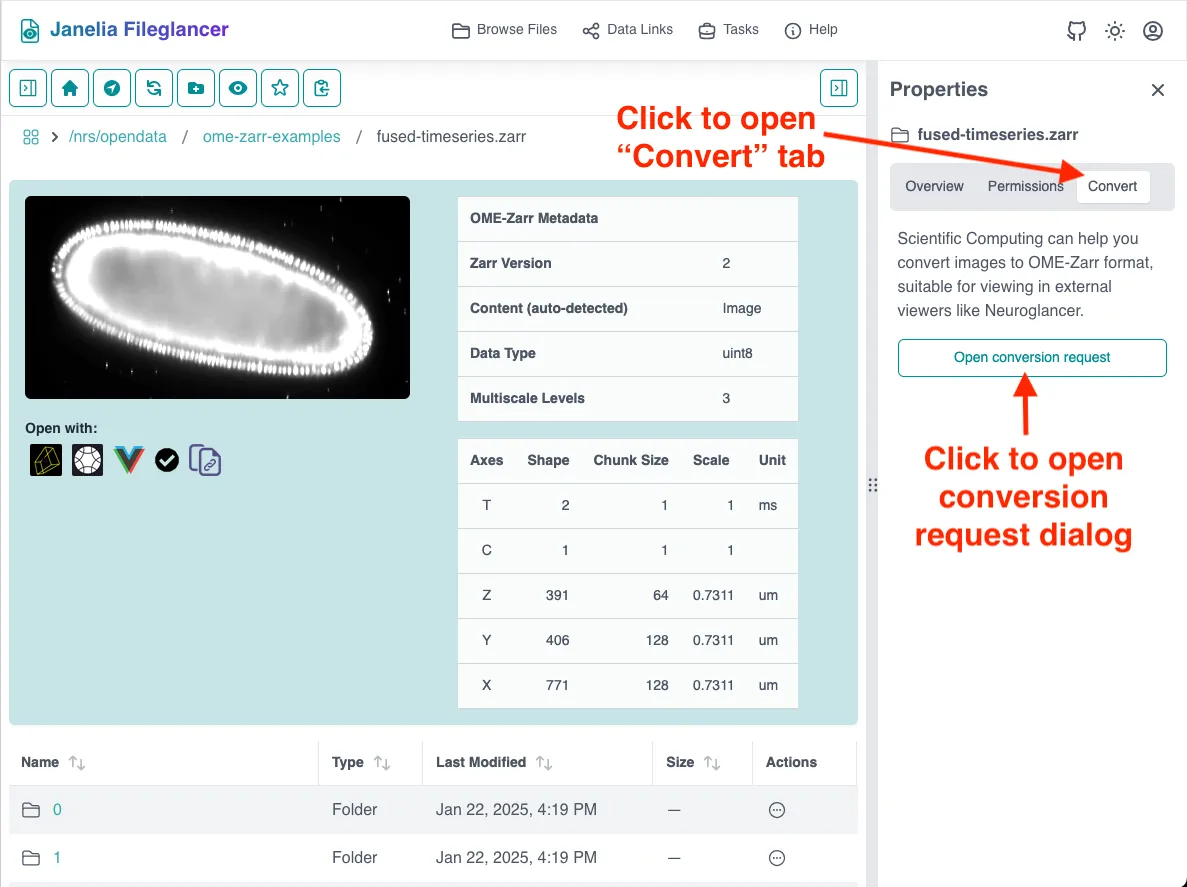
Open Properties Panel
Ensure the right-side Properties panel is visible -
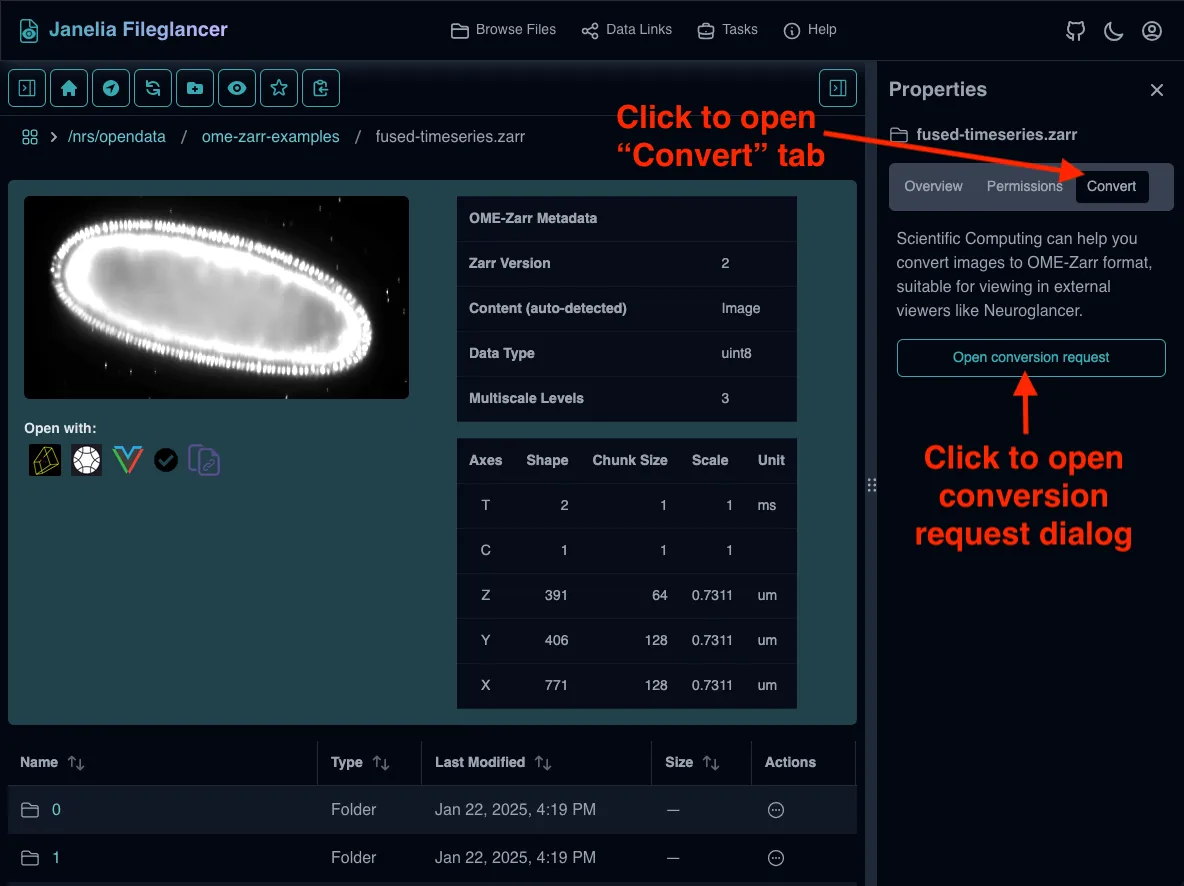
Switch to Conversion tab
Click the Conversion tab in the Properties Panel -
Open conversion request
Follow the prompts to submit your conversion request -
Track progress
Monitor your request status on the Tasks page
Essential Tips
Section titled “Essential Tips”Navigation Shortcuts
Section titled “Navigation Shortcuts”- Breadcrumbs: Use the breadcrumb trail to quickly move up directory levels.
- Copy path: Hover over the breadcrumbs to reveal a copy button that copies the current path into your clipboard.
- Paste onto page: Power users can take advantage of a special hidden feature: if you have a path in your clipboard, simply click anywhere in the file browser and paste using your usual keyboard shortcut. The “Navigate” dialog will come up automatically, prefilled with your path.
Data Link Management
Section titled “Data Link Management”- View all data links: Visit the Data Links page to see all your current data links
- Enable automatic data links: When creating data links, you can choose to enable automatic link creation for future similar actions
Getting Help
Section titled “Getting Help”- Check data conversion task status: Visit the Tasks page to monitor conversion requests
- Built-in help: Look for help icons and tooltips throughout the interface
- Technical support: Use the integrated help desk system for complex issues
Common First Tasks
Section titled “Common First Tasks”Scenario 1: Sharing Lab Data with an Internal Collaborator
Section titled “Scenario 1: Sharing Lab Data with an Internal Collaborator”- Navigate to your lab’s shared data directory
- Find the specific dataset you want to share
- Create a data link using the Properties Panel
- Send the data link to your collaborator
Scenario 2: Preparing Data for Analysis
Section titled “Scenario 2: Preparing Data for Analysis”- Browse to your raw imaging data
- Submit a conversion request using the Convert tab in the Properties panel
- Monitor the conversion progress on the Tasks page
- Once complete, create a data link for the converted data
Scenario 3: Organizing Your Workflow
Section titled “Scenario 3: Organizing Your Workflow”- Use search to find all your project directories
- Save frequently-accessed folders as favorites
- Create data links for datasets you reference often
- Set up automatic data link creation for common sharing patterns
What’s Next?
Section titled “What’s Next?”Now that you’ve completed the basics, explore these guides for more detailed workflows:
- Navigation Guide: Master all navigation features
- Data Links Guide: Learn advanced sharing options
- File Conversion Guide: Understand the complete conversion process
Quick Reference
Section titled “Quick Reference”| Task | Location | Action |
|---|---|---|
| Search for data | Left sidebar | Type group/team name |
| Navigate to specific path | Toolbar widget | Paste path and navigate |
| Save favorite | Toolbar | Click star icon |
| Create data link | Properties Panel | Toggle switch in Overview |
| Request conversion | Properties Panel | Use Conversion tab |
| View all data links | URL | Navigate to the Data Links page |
| Check data conversion task status | URL | Navigate to the Tasks page |
| Go to home directory | Toolbar | Click home icon |